项目:仿京东到家首页开发
-
下载依赖速度快 npm install --registry=https://registry.npm.taobao.org## 工程初始化
cmd 一个文件夹
- vue create myproject
- Manually select features
- Babel Router Vuex CSS Pre-processors Linter / Formatter
- 3.x
- n
- Sass/SCSS (with dart-sass)
- ESLint + Standard config
- Lint on save
- In dedicated config files
- n
- npm
- 回车
- 打开 myproject 项目,将.git .gitignore 删除
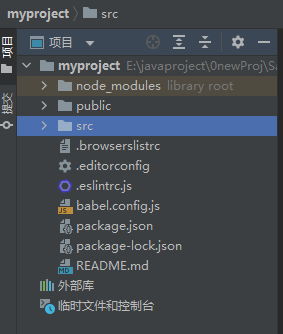
工程目录代码简介及整理
-
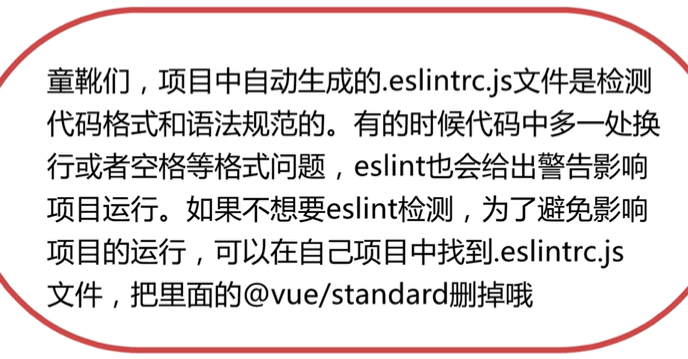
安装插件 ESLint / Vetur ESLint : 提示语法,语法校验,符合规范 Vetur : 识别 Vue 上的语法,让文件高亮显示
-
node_modules 放的一些依赖包 获取 : npm install 安装依赖
-
public : 存放的是默认的 html 模板
-
.editorconfig : 编辑器的一些默认配置
-
babel.config.js : vue 的一些用到 babel 的配置
-
package.json : 存放的是一些依赖包
-
package-lock.json : 保证多人协作,安装依赖有固定的版本
src 目录 : (源代码目录) -
入口文件 : main.js
-
将 App.vue 改成
<template>
  <router-view/>
</template>- 将 asstes component 的内容文件删了
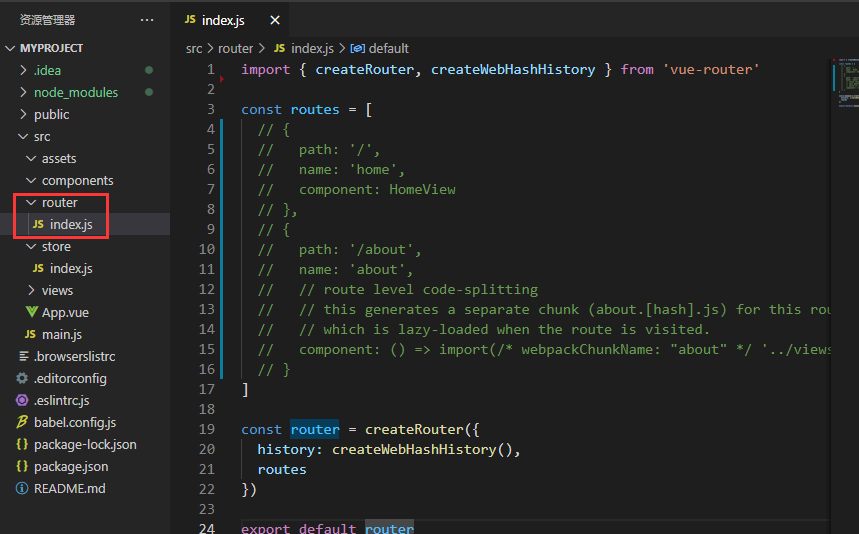
- 将 router->index.js ↓删掉 import HomeView from \'../views/HomeView.vue\'
- 将 views 的内容文件删了
基础样式集成及开发模拟器的使用
为了让我们的样式在所有浏览器上保持一致 npm install normalize.css@8.0.1 --save
- main.js : import \'normalize.css\'
- 在 src 中创建 style/base.css html{ font-size: 100px; } // 1rem=html font-size
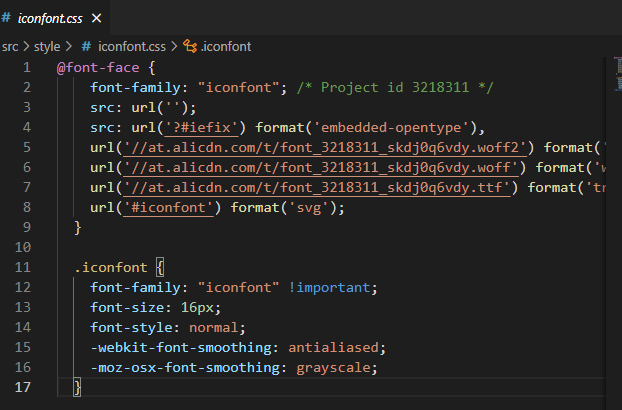
flex + iconfont 完成首页 docker 样式编写
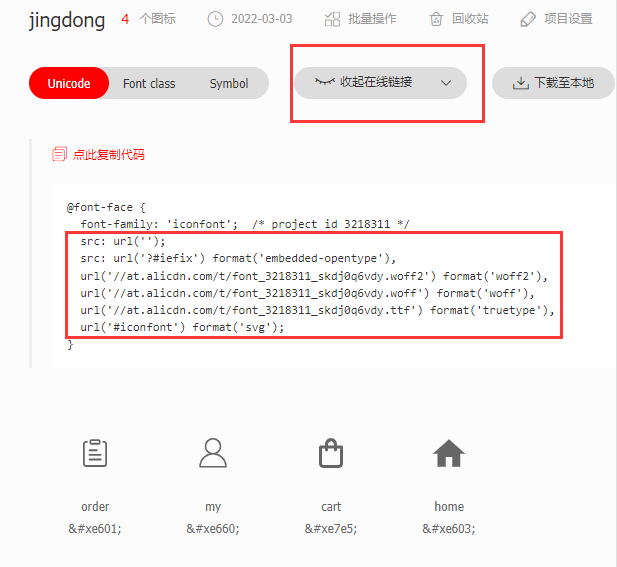
- style -> iconfont.css
- style -> index.scss : @import \'./base.scss\'; @import \'./iconfont.css\';
- main.js : import \'./style/index.scss\'
使用 Scss 组织地址区域布局
- style -> viriables.scss $content-fontcolor:#333; 在需要的地方: 改成 color: $content-fontcolor;
- style -> mixins.scss
//文字多,展示...
@mixin ellipsis {
    overflow: hidden;
    white-space: nowrap;
    text-overflow: ellipsis;
}
App.vue
<style lang="scss">
@import "./style/viriables.scss";
@import "./style/mixins.scss";
.position {
...
@include ellipsis;
.position_icon {
...
}利用 CSS 技巧实现搜索及 banner 区域布局
<div class="banner">
      <img
        class="banner_img"
        src="http://www.dell-lee.com/imgs/vue3/banner.jpg"
      />
    </div>
//防止图片加载时,下方文字抖动
// 高宽比
.banner {
  height: 0;
  overflow: hidden;
  padding-bottom: 25.4%;
  &_img {
    width: 100%;
  }
}
使用 flex 布局实现图标列表布局
//flex-wrap:wrap; 换行
.icons{
  display: flex;
  flex-wrap:wrap;
  margin-top: .16rem;
  &_item{
    width: 20%;
    &_img{
      display: block;
      width: .4rem;
      height: .4rem;
      margin: 0 auto;
    }
    &_desc{
      margin: .06rem 0 .16rem 0;
      text-align: center;
      color: $content-fontcolor;
    }
  }
}
.gap{
  //左右顶格
  margin: 0 -.18rem;
  height: .1rem;
  background:$content-bgColor;
}
首页布局收尾
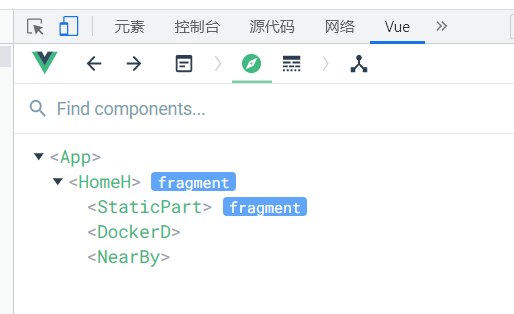
首页组件的合理拆分
使用 v-for, v-html 指令精简页面代码.mp4
<template>
<div class="docker">
<span v-for="(item, index) in dockerList"
:class="{'docker_item':true,'docker_item-active':index===0}"
class="docker_item "
:key="item.icon">
<div class="iconfont"
v-html="item.icon" />
<div class="docker_title">{{item.text}}</div>
</span>
</div>
</template>
<script>
export default {
name: 'DockerD',
setup () {
const dockerList = [
{ icon: '', text: '首页' },
{ icon: '', text: '购物车' },
{ icon: '', text: '订单' },
{ icon: '', text: '我的' }
]
return { dockerList }
}
}
</script>CSS 作用域约束以及 Vue 开发者工具的安装使用
<style lang="scss" scoped>//scoped 这个样式只对这个组件有效,,限制 css 作用范围- Chrome 添加扩展 Vue.js devtools
登录页面布局开发
路由守卫实现基础登陆校验功能
- src\router\index.js
router.beforeEach((to, from, next) => {
  const { isLogin } = localStorage;
  (!isLogin && (to.name !== 'Login' && to.name !== 'Register')) ? next({ name: 'Login' }) : next()
})
注册页面开发及路由串联复习
- src\router\index.js
 {
    path: '/login',
    name: 'Login',
    component: Login,
    // 登录到首页后,地址 login,会跳转到首页,不会跳转 login 页面
    beforeEnter (to, from, next) {
      const isLogin = localStorage.isLogin
      isLogin ? next({ name: 'Home' }) : next()
    }
  }
使用 axios 发送登录 Mock 请求
请求函数的封装
    <input class="wrapper_input_content"
             placeholder="请输入用户名"
             v-model="data.username" />
import { useRouter } from 'vue-router'
import axios from 'axios'
import { reactive } from 'vue'
export default {
name: 'LoginL',
setup () {
const data = reactive({
username: '',
password: ''
})
// 测试时期,点登录,跳转到首页
const router = useRouter()
const handleLogin = async () => {
try {
const result = await post('/api/user/login', {
username: data.username,
password: data.password
})
if (result?.errno === 0) {
localStorage.isLogin = true
router.push({ name: 'Home' })
} else {
alert('登录失败')
}
} catch (e) {
alert('请求失败')
}
}
const handleRegisterClick = () => {
router.push({ name: 'Register' })
}
return { handleLogin, handleRegisterClick, data }
}
}- src->utils->request.js
import axios from 'axios'
export const post = (url, data = {}) => {
  return new Promise((resolve, reject) => {
    axios.post(url, data, {
      baseURL: 'https://www.fastmock.site/mock/ae8e9031947a302fed5f92425995aa19/jd',
      headers: {
        'Content-Type': 'application/json'
      }
    }).then((response) => {
      resolve(response.data)
    }, err => {
      reject(err)
    })
  })
}
项目:仿京东到家商家详情开发
首页附近店铺数据动态化
动态路由,异步路由与组件拆分复用
- router->index.js
  const routes = [
  {
  path: '/',
  name: 'Home',
  component: () => import(/* webpackChunkName: "home" */ '../views/home/Home')
},- components->ShopInfo.vue
- views->shop->ShopS.vue
- views->home->Nearby.vue
    <ShopInfo v-for="item in nearbyList"
              :key="item._id"
              :item="item"
              />

import ShopInfo from '../../components/ShopInfo'
export default {
  name: 'NearBy',
  components: { ShopInfo },
搜索布局及路由跳转
views->shop->ShopS.vue views->home->Nearby.vue
购物车功能开发
Vuex 中购物车数据结构的设计
-
实现各商店商品加一, 每个商店的商品互不影响
-
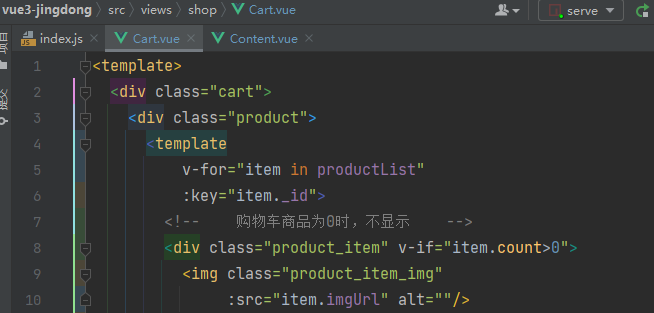
shop/Content.vue
 <span
              class="product_number_plus"
              @click="()=>{changeCartItemInfo(shopId,item._id,item,1)}"
          >+</span>
//购物车相关逻辑
const userCartEffect = () => {
const store = useStore();
const cartList = toRefs(store.state).cartList;
const changeCartItemInfo = (shopId, productId, productInfo,num) => {
store.commit("changeCartItemInfo", {shopId, productId, productInfo,num});
};
return {cartList, changeCartItemInfo};
};- store/index
  mutations: {
    changeCartItemInfo(state, payload) {
      const {shopId, productId,productInfo} = payload;
      let shopInfo = state.cartList[shopId];
      if (!shopInfo) {
        shopInfo = {};
      }
      let product=shopInfo[productId]
      if (!product) {
        product = productInfo;
        product.count=0
      }
      product.count=product.count+payload.num
      if(product.count<0){
        product.count=0
      }
      shopInfo[productId]=product
      state.cartList[shopId]=shopInfo
    }
  },
使用 computed 完成订单价格计算
- shop/Cart.vue
<div class="check__icon__tag">{{ total }}</div>
<div class="check__info">
        总计:<span class="check__info__price">¥ {{ price }}</span>
      </div>
import {computed} from "vue";
import {useStore} from "vuex";
import {useRoute} from "vue-router";
//获取购物车信息逻辑
const useCartEffect = () => {
const store = useStore();
const route = useRoute();
const shopId = route.params.id;
const cartList = store.state.cartList;
const total = computed(() => {
const productList = cartList[shopId];
let count = 0;
if (productList) {
for (let i in productList) {
const product = productList[i];
count += product.count;
}
}
return count;
});
const price = computed(() => {
const productList = cartList[shopId];
let count = 0;
if (productList) {
for (let i in productList) {
const product = productList[i];
count += (product.count * product.price);
}
}
return count.toFixed(2);
});
return {total, price};
};
export default {
name: "Cart",
setup() {
const {total, price} = useCartEffect();
return {total, price};
}
};
购物车及列表双向数据同步功能开发
- src/views/shop/commonCartEffect.js
import { useStore } from 'vuex'
import {toRefs} from "vue";

//购物车相关逻辑
export const useCommonCartEffect = () => {
  const store = useStore();
  const cartList = toRefs(store.state).cartList;
  const changeCartItemInfo = (shopId, productId, productInfo,num) => {
    store.commit("changeCartItemInfo", {shopId, productId, productInfo,num});

  };
  return {cartList, changeCartItemInfo};
};
根据购物车选中状态计算订单金额
- src/views/shop/Cart.vue
- src/store/index.js
全选及清空购物车的功能实现
- src/views/shop/commonCartEffect.js
  const cartList=store.state.cartList
return {cartList};-
src/views/shop/Content.vue 导入 cartList
-
全选
-
src/store/index.js
  setCartItemsChecked(state,payload){
      const {shopId} = payload;
      const products = state.cartList[shopId];
      if (products){
        for (let key in products){
          const product=products[key]
          product.check=true
        }
      }
}- src/views/shop/Cart.vue
<div class="product_header_all" @click="()=>setCartItemsChecked(shopId)">
<span
class="product_header_icon iconfont"
v-html="allChecked?'':''"></span>
全选
</div>商家详情页面代码优化
购物车数据结构的变更
通过 LocalStorage 实现购物车信息持久存储
确认订单商品列表数据获取与布局
页面布局及展示逻辑开发
- 确认订单页面后退返回按钮
<div
class="iconfont top_header_back"
@click="handleBackClick"
></div>
const router = useRouter();
const handleBackClick=()=>{router.back()}确认订单页面组件拆分及弹框布局制作
购物流程开发完成
订单列表页布局逻辑开发
- src/views/orderList/OrderList.vue


